As you know Android is an Open Source mobile OS and it is the most used mobile OS available right now. The best thing about Android Os is the freedom it gives its users. It is the freedom to modify and redistribute without any chains to hold. And, as an end-user (which you are), the gates of freedom open with the developer options. It’s the stepping stones of customization and freedom that has been labelled so far. You wouldn’t see anything like the flexibility these offer in any other OS.
Steps To Enable Developer Option and USB Debugging On OnePlus 7 Pro
1.Developer Option
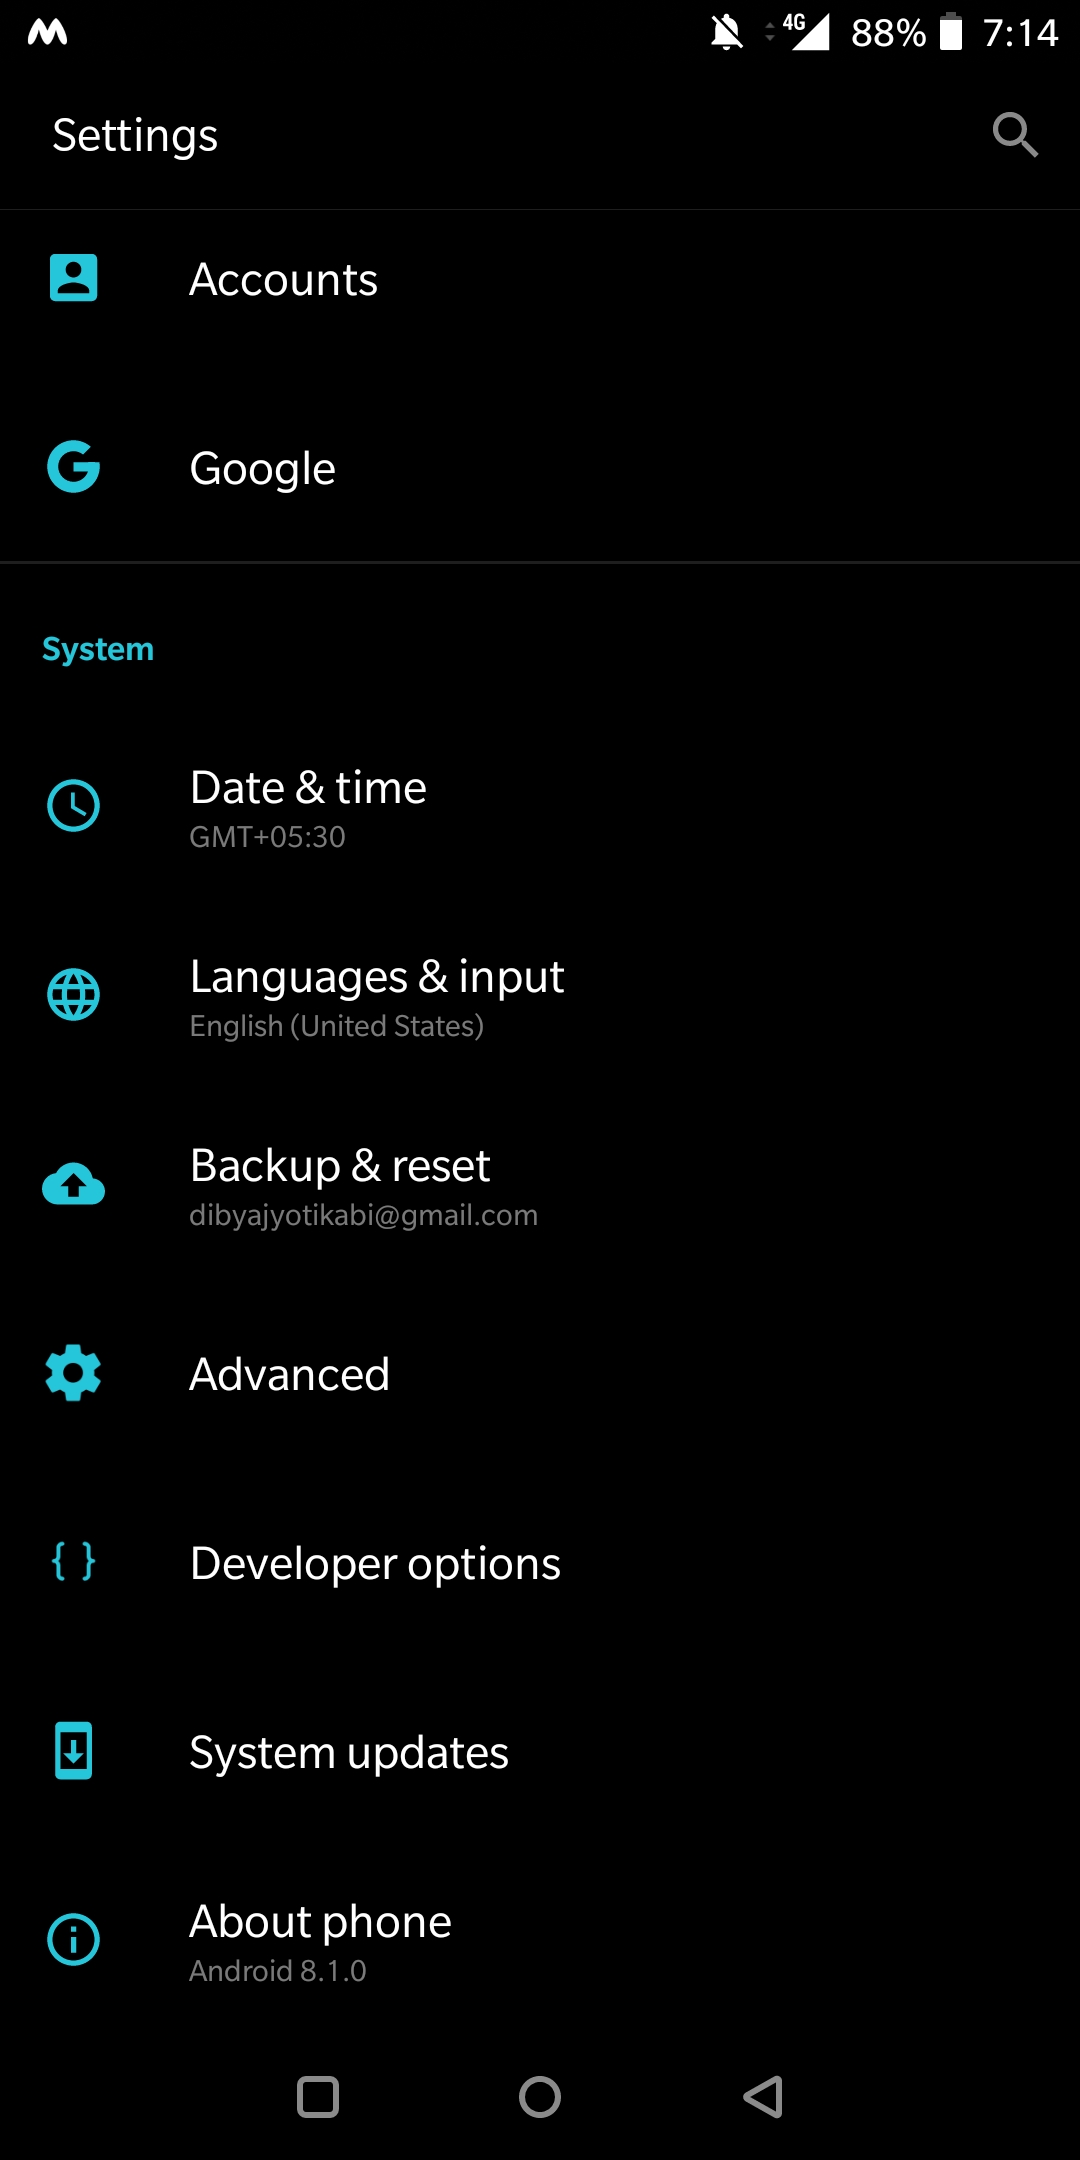
First, open Settings on your OnePlus 7 Pro
The device comes with 128 GB/ 256 GB of internal storage. It carries a triple rear camera set up on the rear which is the first time for a OnePlus device. It sports a 48MP+16 MP +8 MP triple rear camera set up and a 16-megapixel front camera. The OnePlus 7 comes with Android 9.0 Pie out-of-the-box. OnePlus has finally removed the headphone jack from its flagship device. It houses a 4000 mAh battery.
Now scroll down to About Phone and tap on it
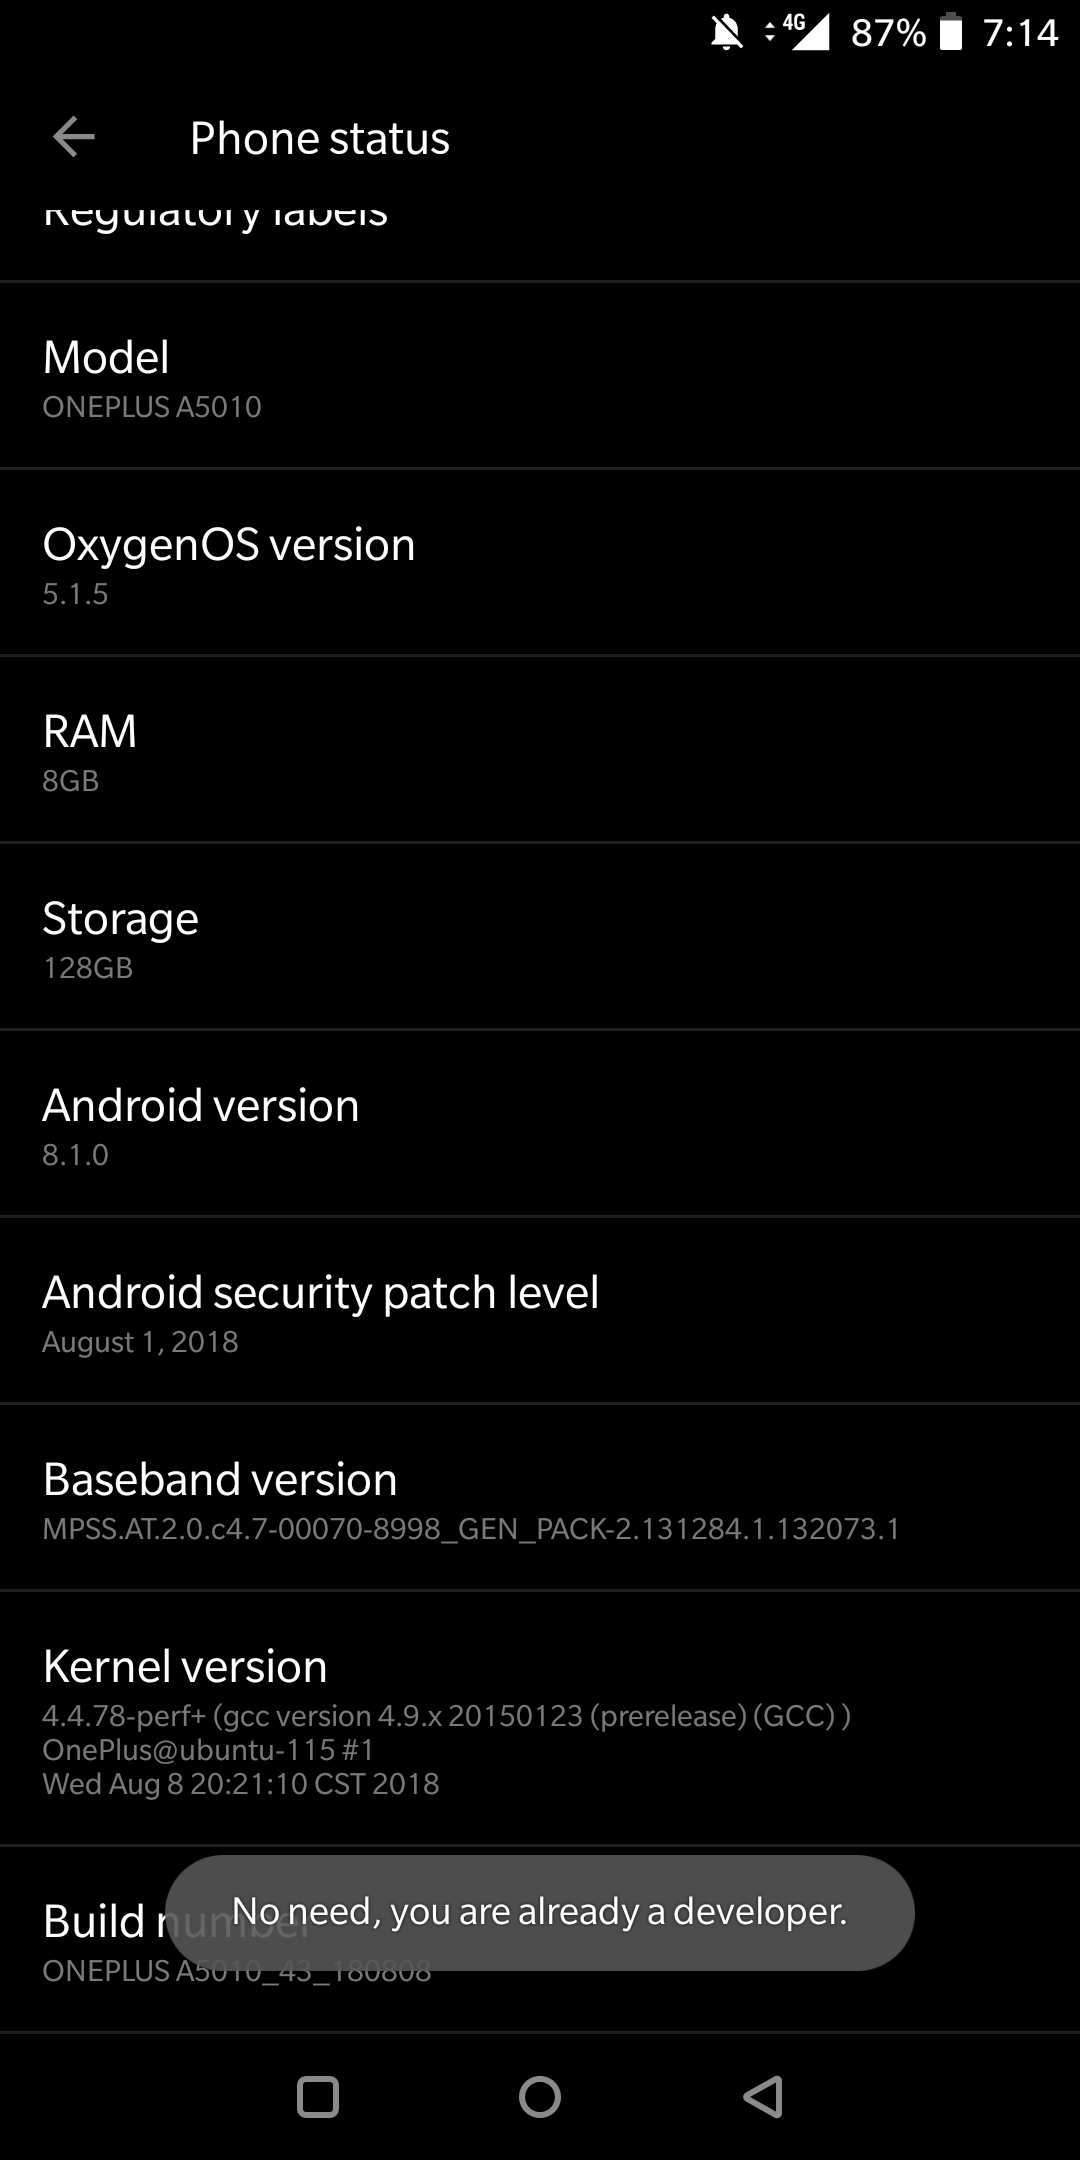
Scroll down to Build number and tap 5-7 times to enable developer option
2.Enable USB debugging on OnePlus 7 Pro
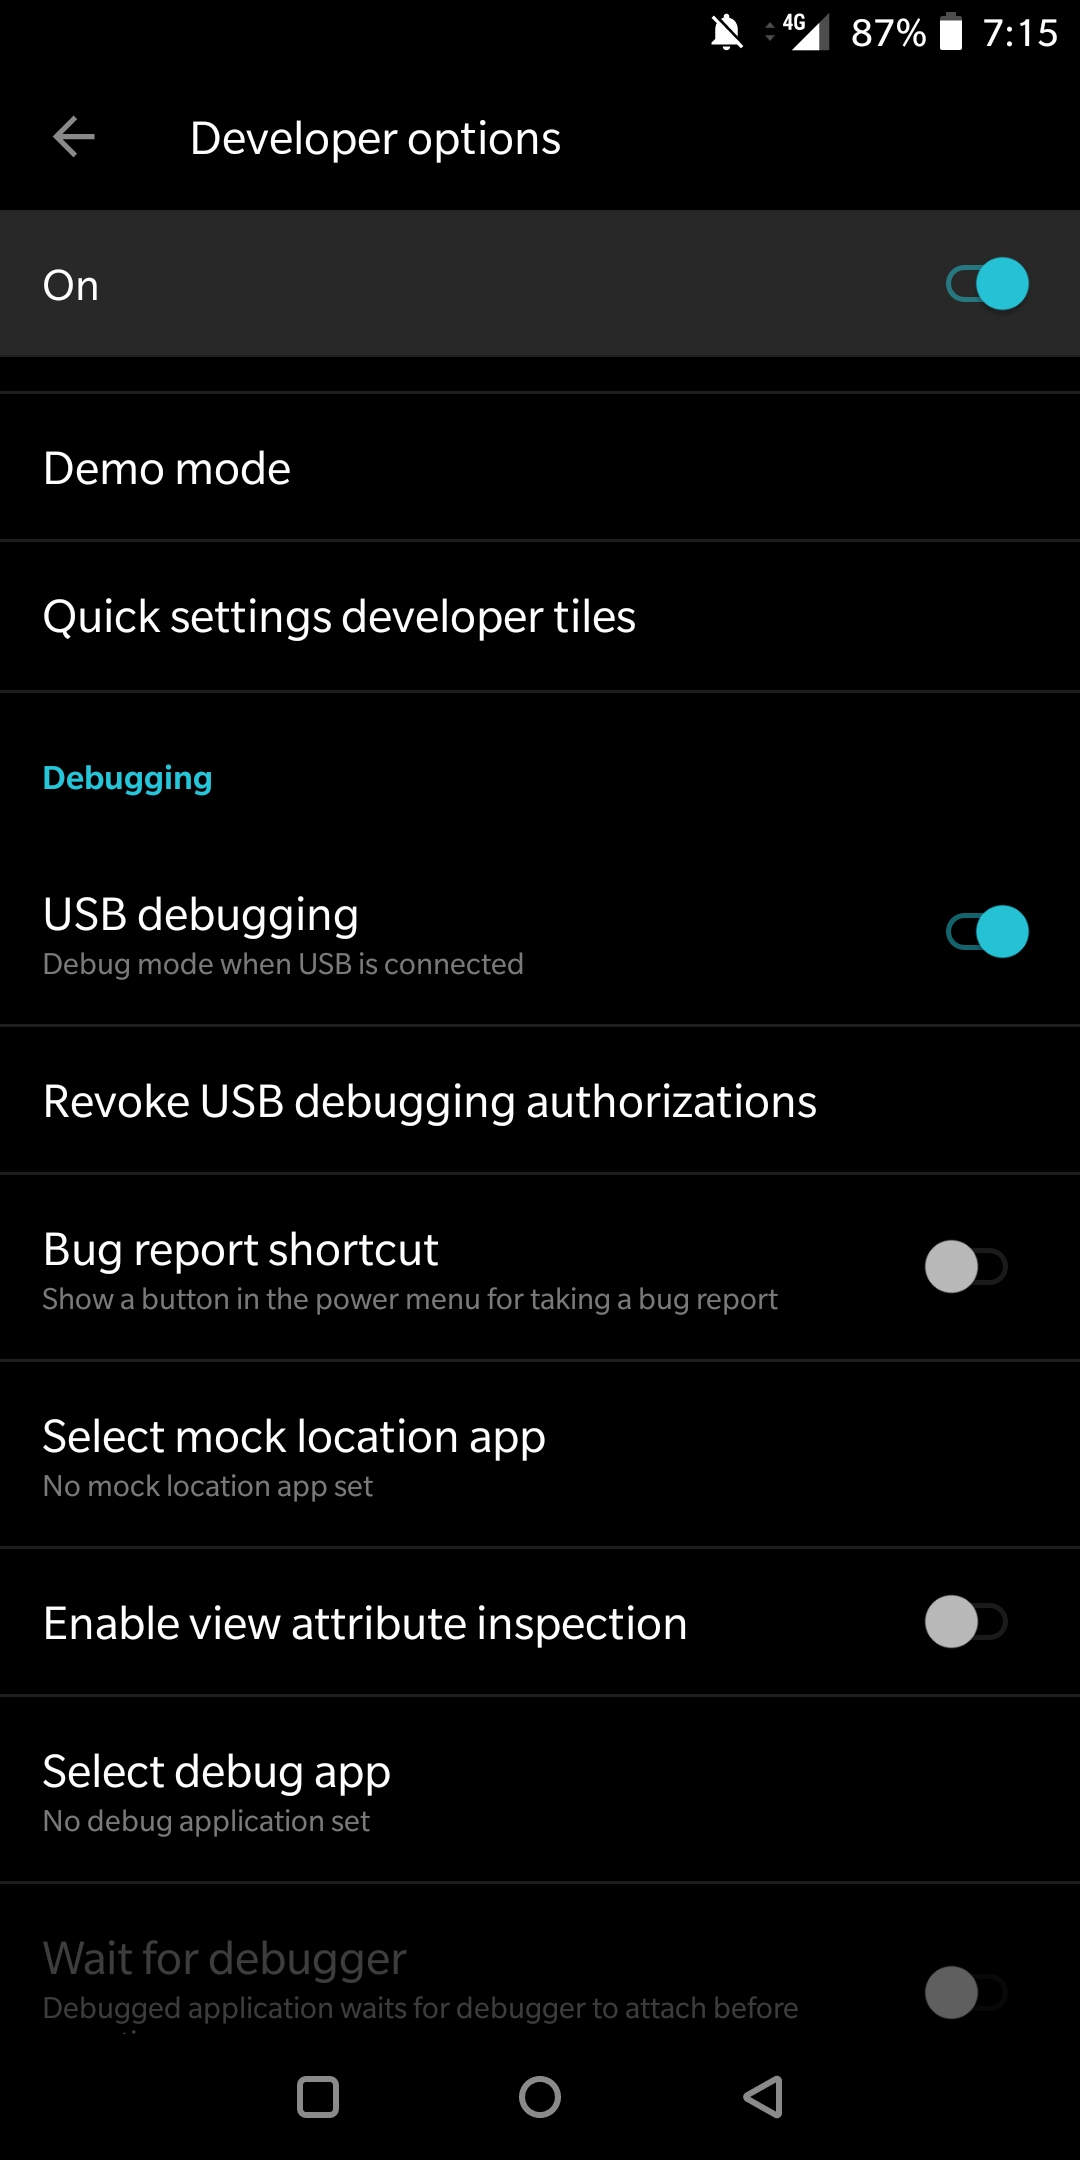
Once you enabled the Developer Options. Returned back to Settings > Developer Options > USB Debugging. Just Enable that option.
Done!! USB Debugging on OnePlus 7 Pro is now enabled.
If you liked this guide, then share it. If you have any quarries regarding this guide, feel free to leave that in the comment section down below.